With Thanksgiving just around the corner, the Ashland children’s team thought it would be fun to offer a Take & Make kit to start your very own cookbook and recipe collection. If you pick up a kit, you’ll receive all the supplies you need to create and decorate a handmade recipe book. We’ll share some of delicious recipes found in some of our favorite children’s picture books and you’ll also have plenty of space to add your own special family favorites!
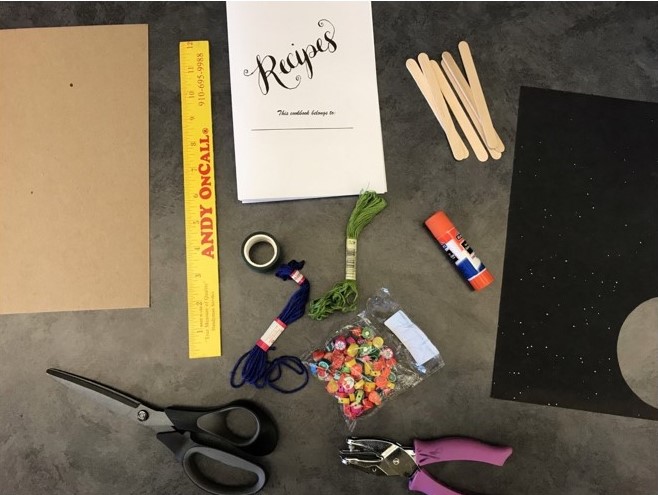
If you can’t make it to Ashland, here is a list of supplies to help get you started:
- Scissors
- Hole punch
- Glue stick
- Embroidery thread (yarn, string, or twine would also work)
- 2 Binder clips
- Pencil
- 2 pieces of cardboard (a cereal box would work well for this)
- 1 piece of fun paper or fabric for the spine of your cookbook
I’ve also included links to the more formal pages of the cookbook that Library Specialist Griffin put together for this project (including those delicious recipes I mentioned). English pages | Spanish pages
Beads, stickers, stamps, paint, magazine pictures, or colorful Washi tape are all fun extras to use for decoration.
Once you’ve gathered all of your materials, it’s time to get started. This is a fairly complicated project, so it’s a great opportunity for you and your child to work together as a team. If you stick to the following steps, it should be pretty straightforward.
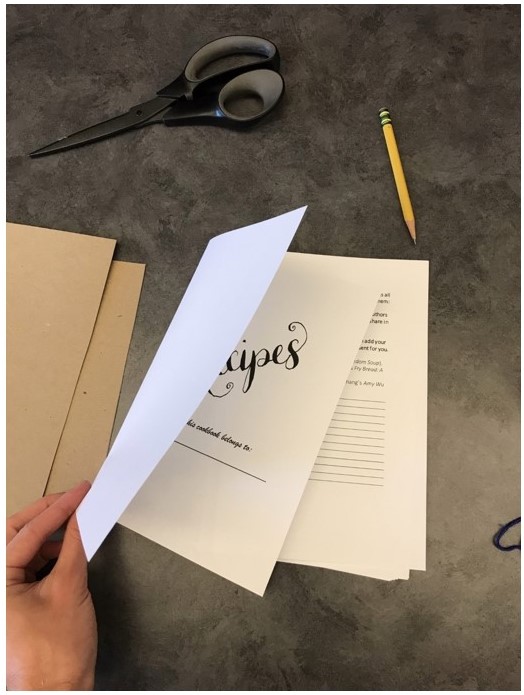
- Fold your printed paper in half to create the pages of your book. Pay close attention to how you fold each page, and make sure the page numbers match up when they are all stacked together. To get an extra-crisp fold, you can use the edge of a popsicle stick to flatten the crease.
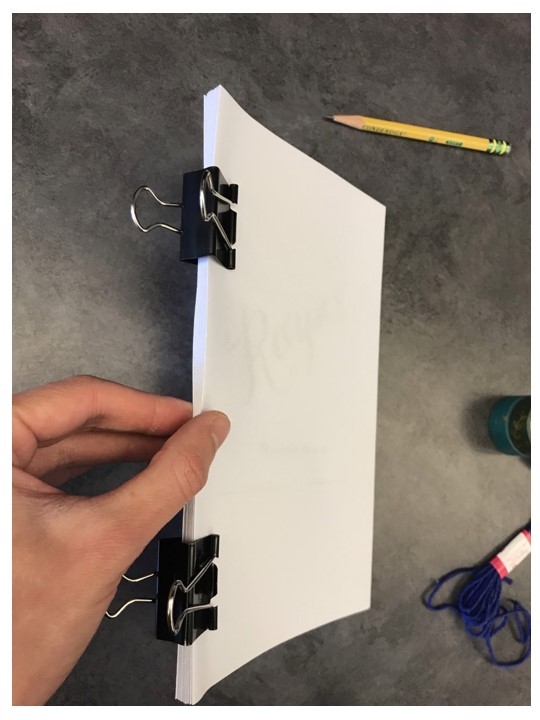
2. Make a stack of your folded pages. Make sure they are in the right order! When you flip through, you want to make sure all the page numbers are correct. I used two binder clips to hold my stack together along the “spine” of the book.
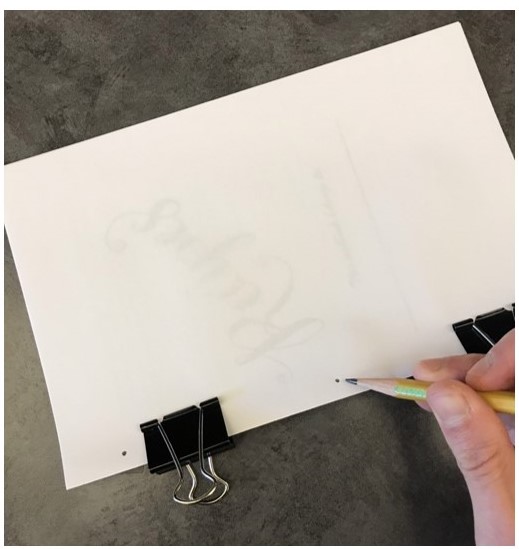
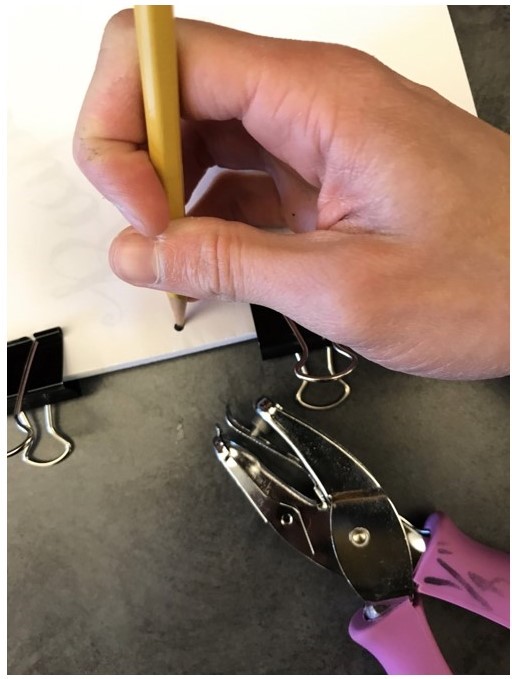
3. Make three marks along the edge of your book, ¼ inch from the edge of your spine (the folded side of your paper). They don’t have to be perfectly spaced, but one should be in the middle and one should be near either end of your book.
4. Punch holes in your pages, on top of where you drew your three pencil marks. If your hole punch is not powerful enough to punch through the entire stack, you can punch through a few pieces of paper and then use that as a “guide” to mark more holes. It is important that the three sets of holes line up perfectly when your pages are stacked. If you don’t have a hole punch, a large sewing needle will do the trick.
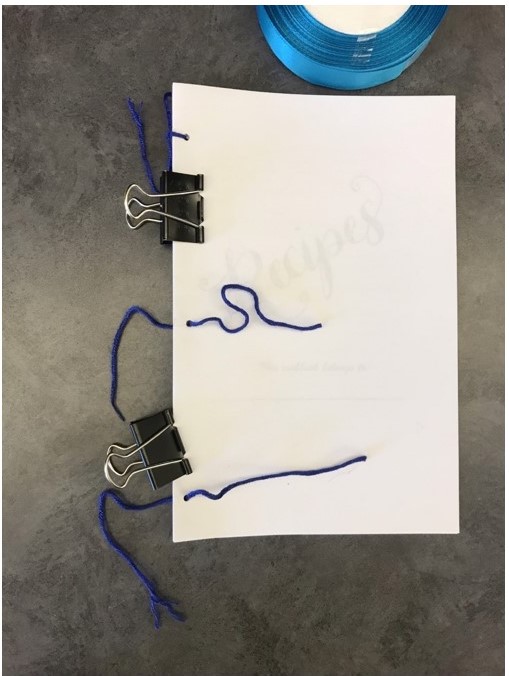
5. Cut three 6” pieces of string, yarn, twine, or embroidery floss. Then thread them through the three holes you made in your pages. If it is hard to get them through, you can use a toothpick or the tip of a sharp pencil to help guide them through the holes you punched.
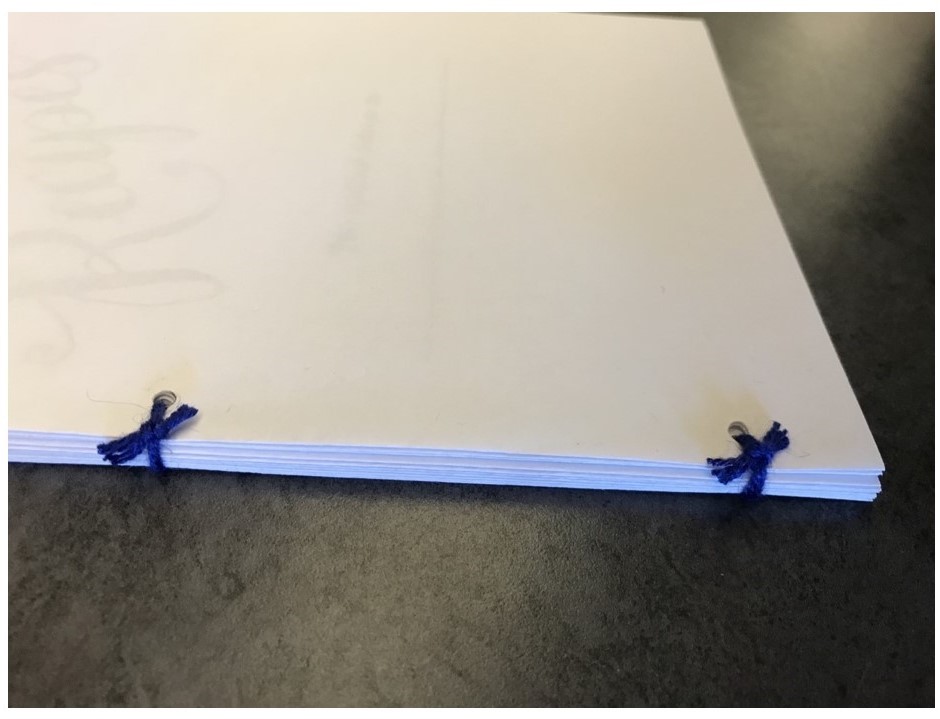
6. Tie off the ends of your string or yarn. Mine are actually tied a little too tight – it will work better if you leave a little space so your pages can turn more easily. You can trim the ends once they have been double-knotted. Now that your pages are tied together, you can remove your binder clips.
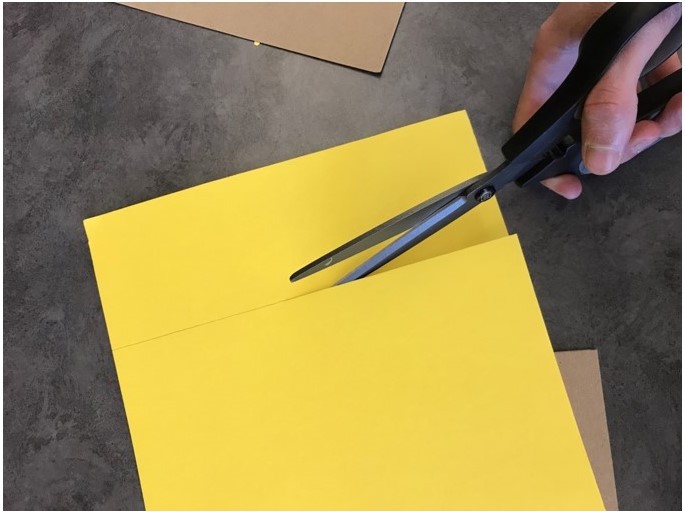
7. Time to make your cover! Start by cutting a piece of paper that is 3” wide by 8 ½” long. (It should be the same length as your covers. I used regular 8 ½” x 11″ yellow printer paper for mine, and my covers are the size of the page cut in half, so I ended up with 8 ½” by 5 ½” covers. If yours are bigger or smaller than that, adjust the length of your paper). You could also use a strip of fabric for this step.
8. Place your cover boards side by side in front. Take your 3” piece of yellow paper and leaving a 1” gap between your covers, glue the strip down. The gap should be the width of the spine of your book or a little wider.
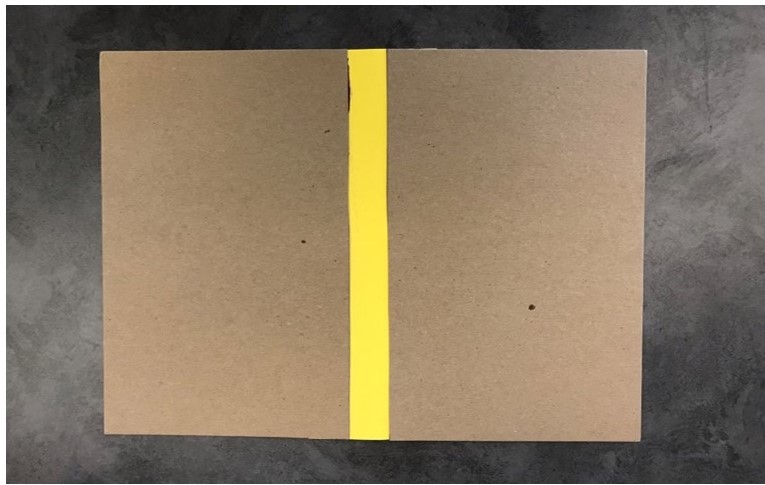
This is how it should look on the inside with the 1” gap.
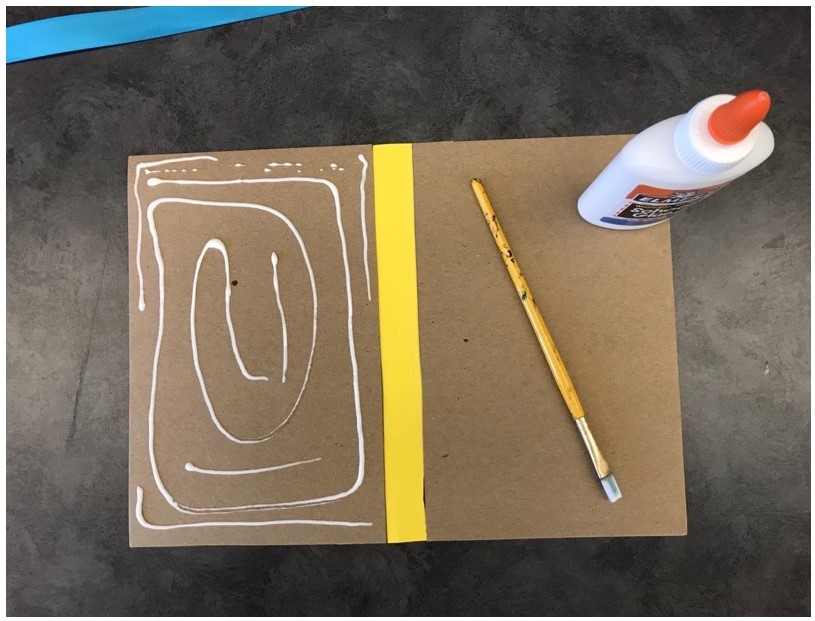
9. Put a thin coating of glue on the inside of your covers. Elmer’s glue and a paint brush works fine, or a glue stick would also work. Be careful not to get any glue on the paper “gap” that will become the spine of your book – that will glue your pages together!
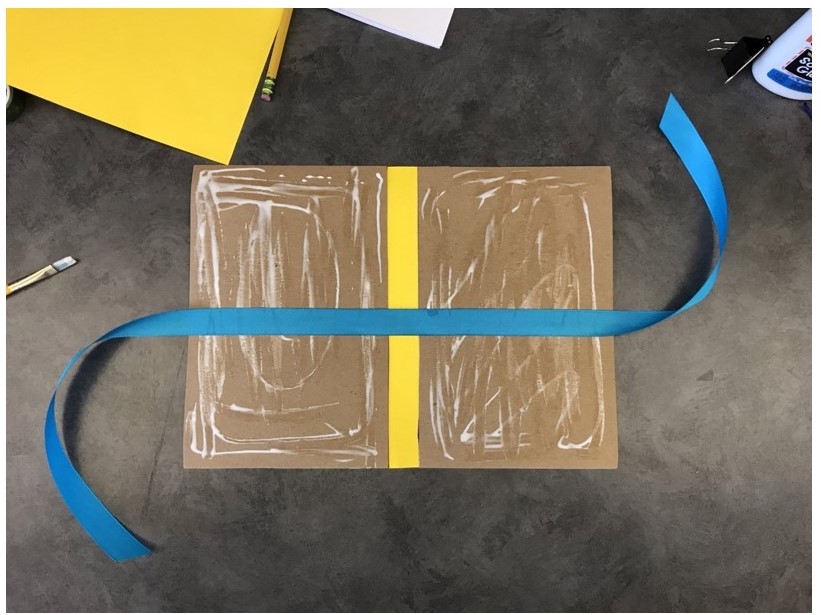
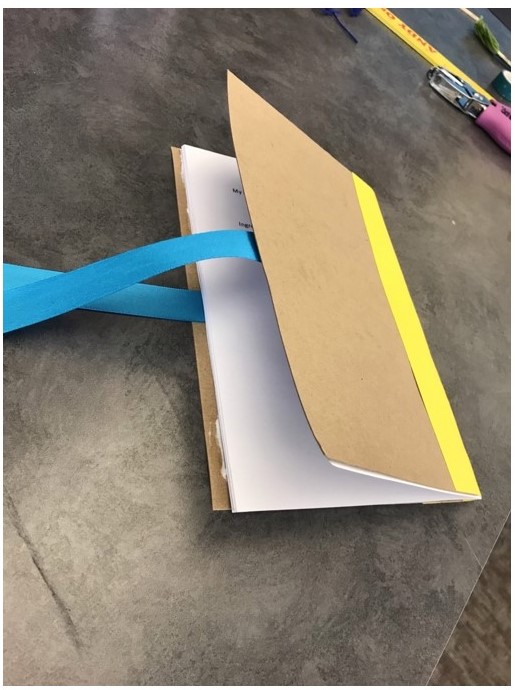
10. If you want to add a piece of ribbon or twine to tie your cookbook closed, lay it along the inside of the covers like this. Make sure it is long enough to tie comfortably. If you want, you can also make it long enough to wrap all the way around the cookbook and tie in a bow.
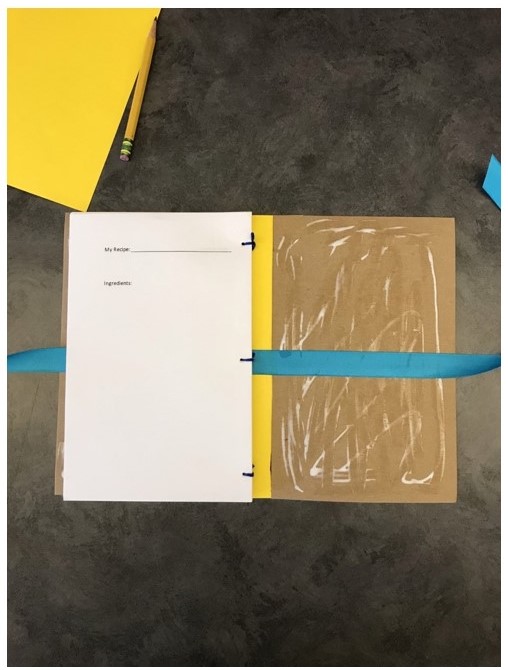
11. Carefully place the “book” part of your cookbook onto the covers, making sure it is centered and that the pages don’t poke out on the top or bottom of the covers. The first and last pages will be glued to the covers, and this is what holds all your pages in place inside the cover.
12. Fold over the covers of your book so that the back cover is thoroughly glued onto the last page. If you used Elmer’s glue, make sure it doesn’t drip down and stick any of your pages together (if you have a drip, wipe it off before it dries). Weigh it down with something heavy (maybe another cookbook!) while the glue dries, so that it will hold its shape.

13. Your cookbook is complete! If you want, you can add decoration to your cover by drawing on it or adding stickers or stamps. I added some colorful Washi tape to help hold down the paper on my book spine. Time to test out the recipes inside and add a few of your own! Happy cooking!
For a list of some of the really neat cookbooks we have for children in the library collection visit: Cookbooks for Kids. You can also view a storytime short featuring the book Amy Wu and the Perfect Bao by Kat Zhang. For a fun and silly storytime about learning to work and cook together as a family visit JCLS Storytime Short: Seven Silly Eaters.