Yay! It is finally fall! After living through the longest, worst summer ever, I decided it was time to celebrate my favorite time of year. I love collecting leaves, but then I never know what to do with them, so this year I came up with a simple and easy way to display them.
This fall leaf wreath can be made with just a few simple items. Here is a list of supplies to help you get started:
• Paper plate
• Tissue paper
• Glue
• Brown construction paper or a paper bag
• Leaves
• Twine, yarn, or ribbon
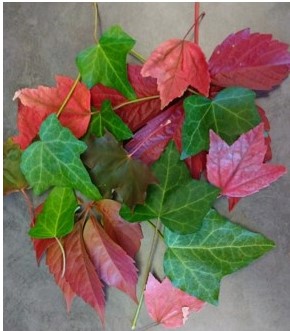
The first thing I did was take a walk outside and enjoy the blue skies and the autumn colors starting to show. I picked up any and all leaves that struck my fancy. Some of them were still green, but I thought they would add a nice contrast to the oranges and reds. Some of my favorite leaves are from Maple and Sweetgum trees. I like the play of reds, orange, and yellow that these leaves often display. You’ll want to have a decent selection to choose from, so I would say aim for about 10 or 15 leaves.
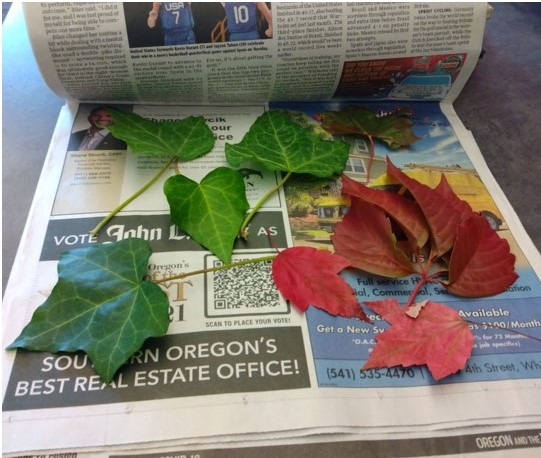
When you’ve collected your leaves, find a book or some newspaper, and spread the leaves between the pages and weigh it down with something heavy. You may want to add a bit of parchment or wax paper to protect the pages of the book.
Because I work in the library, I had a lot of books to use for this purpose!
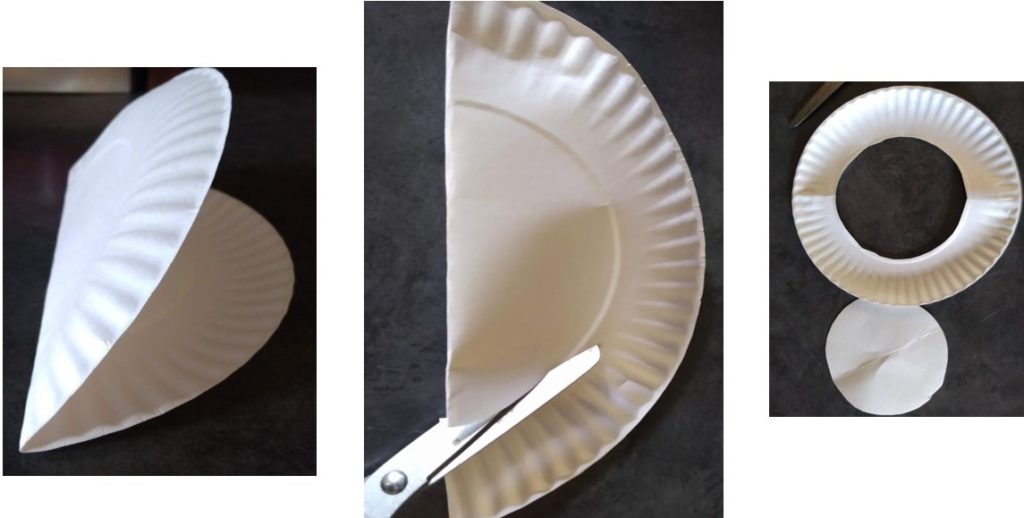
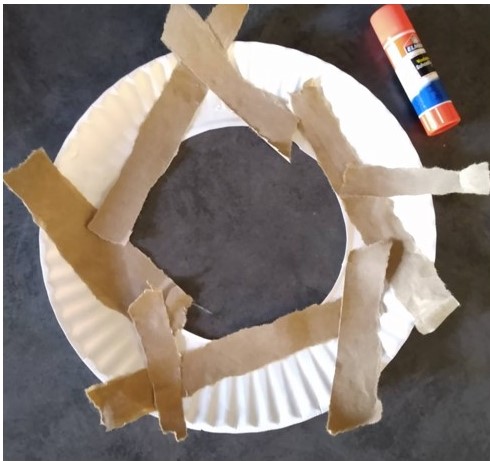
While your leaves are flattening a bit, take a paper plate and cut out the center circle. I found the easiest way to do this is to fold the plate in half and start from the edge, following the curve of the fold. (If you don’t have a paper plate, you can use a piece of cardboard or re-purpose a cereal box.)
Next, I took a paper bag and tore it into strips.
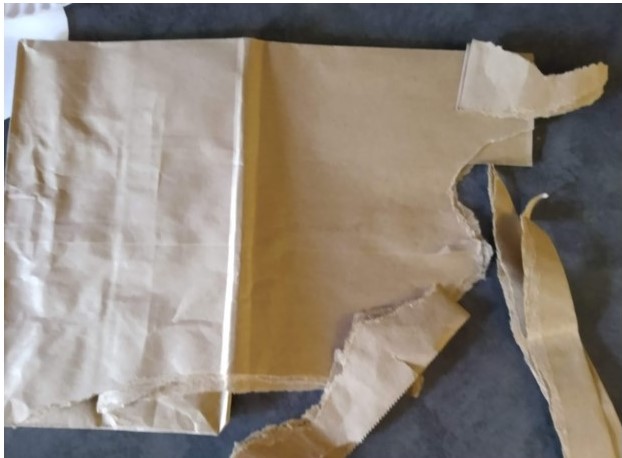
These strips will serve as branches. Once I had a good pile, it was time to move on to gluing them onto the paper plate.
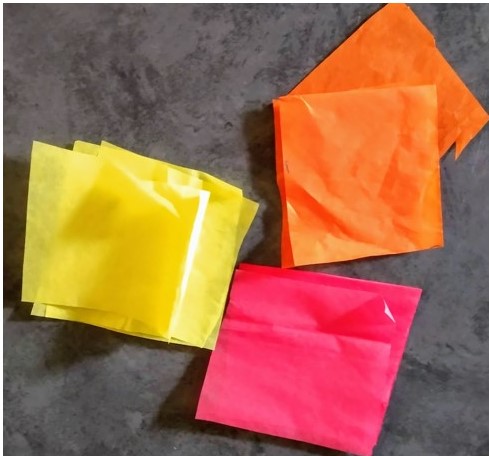
When I was satisfied with my “branches,” I took tissue paper and cut it into approximately 3 x 3-inch squares.
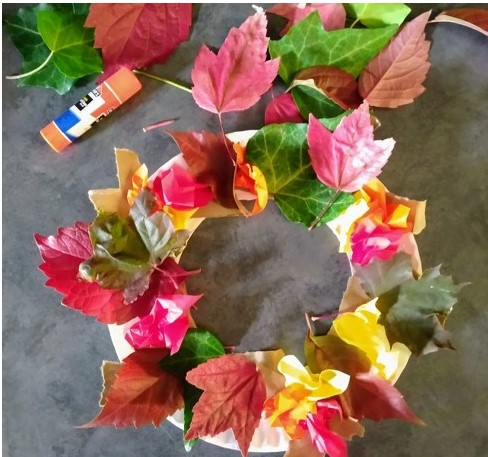
I then crumbled them up and glued them on different sections of the plate. This is a great opportunity for your child to work on their fine motor skills. (Remember to save some space between the tissue paper for adding the leaves you’ve collected.)
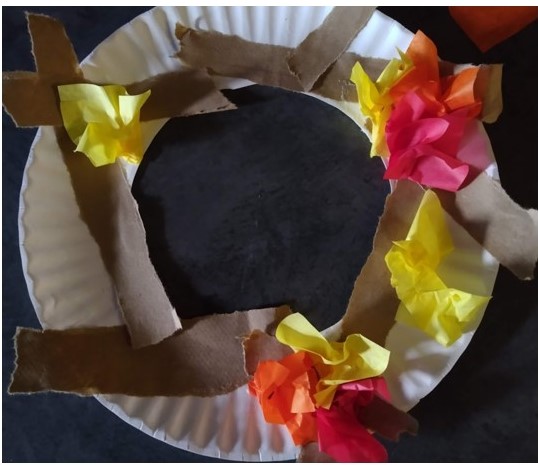
Take your flattened leaves and fill in the empty spaces on your plate. A glue stick worked fine for me, but you may want to switch to Elmers or all-purpose glue if the leaves are having trouble staying on the plate.
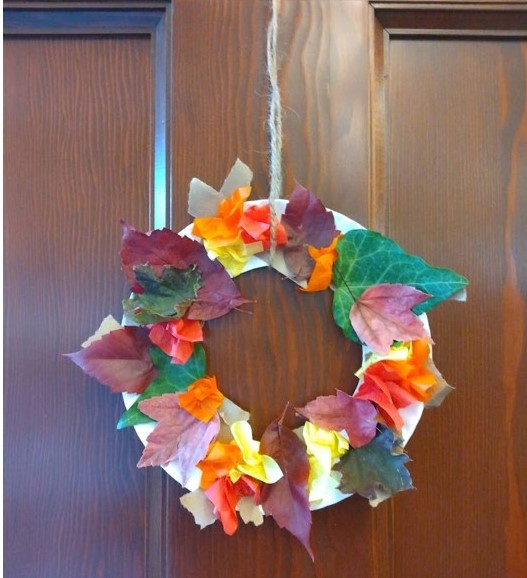
When your child feels satisfied with the finished product, it’s time to hang it up. Loop a piece of twine, yarn, or ribbon through the center of the paper plate and tie it off. Hang it up anywhere you’d like a splash of fall color.
This project lends itself to what I call “a homeschool moment.” It can be used as an opportunity to work on colors with younger children and for the older set, leaf and tree identification. If you need help identifying some of the local flora and fauna, here’s a list of books get you started. You can also explore further by checking out a dichotomous key of plants, which will help you identify characteristics and features of the trees and leaves you might come across. The Woodland Trust also has printable tree ID guides for kids.