Everyone needs a hug once in a while, especially after the past year and a half when so many of us have been separated from family and friends. The Ashland children’s department has just the ticket to perk up your spirits and give yourself a little TLC. This week we are giving out Take & Make kits to create your very own Snuggle Bunny. This is an easy, no-sew project that you can make with a variety of different materials. If you can’t make it to Ashland, never fear, the following step-by-step instructions will tell you everything you need to know to create this cute little friend.
Here are some of the supplies you’ll need to get started:
- A clean old sock
- Filling: Poly-fil, wool fleece, cottonballs, etc.
- 1/8 cup of beans, rice, or small pebbles – anything to give your bunny a weighted base
- A sharp pair of scissors
- Two pieces of string about 12 inches long
- Black marker
- A jar or small container
- Small piece of ribbon (optional)
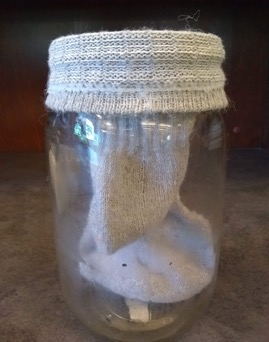
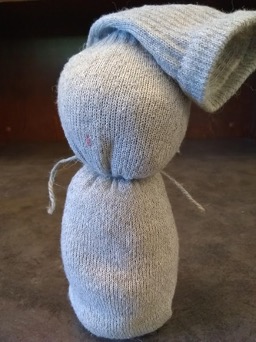
Once you’ve gathered your supplies, take your sock and your container, and fold the tube of the sock over the lip of the container. The container is simply a tool to help make filling the sock easier; if you don’t have something handy, no worries, it will still work out just fine
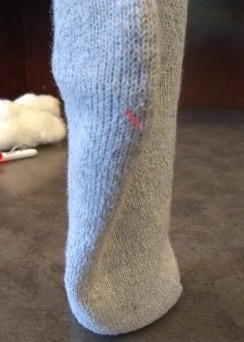
Take the material you are using for the weighted base and pour it into your sock. The heel is going to be the face of your bunny so make sure the beans, rice or pebbles are in the toe of the sock and the heel is facing you.
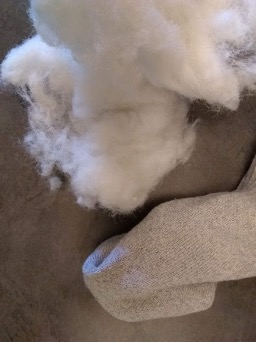
Now you can add your fleece or Poly-fil. If you don’t have Poly-fil or fleece handy, you can also fill the entire sock with rice or beans, it won’t be quite as snuggly, but it will still make a cute friend. (Poly-fil can be found at any store that sells sewing and craft supplies.)
Fill your sock to the top of the heel.
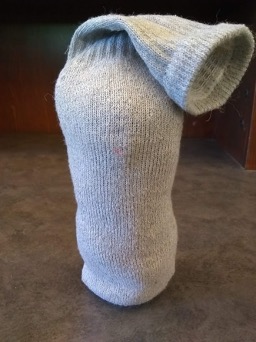
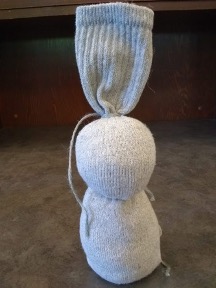
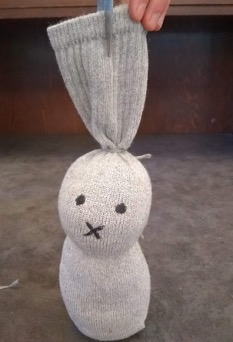
Take your string and tie off the heel from the rest of the sock foot. This will be your bunny’s head.
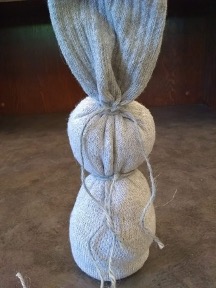
With your second string, tie off the remaining sock just below the tube of the sock base (at the top of your bunny’s head.) These will be your bunny’s ears.
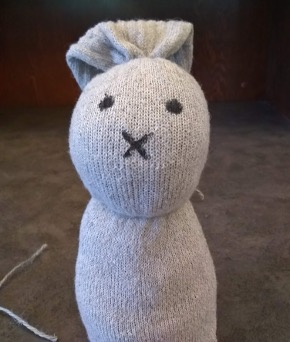
With the heel facing you, add two black dots for the eyes and an X for the nose.
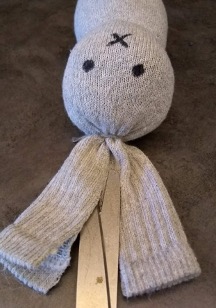
Now grab those sharp scissors and cut down the middle of the tube of the sock.
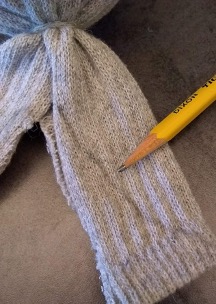
Use a pencil to draw a curve from the base of the tube to the top of the sock, using your scissors to snip off the excess.
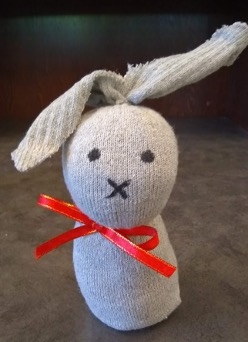
Finally, if you have a small piece of ribbon or colorful yarn, tie it around your bunny’s neck to give them a little extra pizzazz and voilà! You are done!
I had a lot of fun making my little snuggle bunny, and I bet you and your family will, too! When you’re done, snuggle down together to view the storytime short featuring the book The Rabbit Listened by Cori Doerrfeld. This is a lovely book about “healing heartaches big and small and taking the time to listen.”