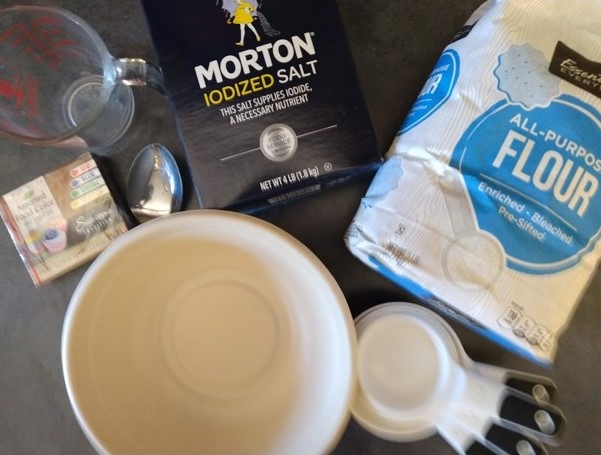
Here’s a neat activity that doesn’t require a lot of supplies, but when it is done can be adapted to fit a variety of schedules and attention levels. This non-edible recipe is a fun way to make sculptures out of simple ingredients. If you happen to be in Ashland this weekend (October 23 & 24), swing by the library and pick up a Take and Make kit with everything you need for this project. Otherwise here is a list of supplies you’ll need:
Flour
Salt
Water
Measuring cups
Mixing bowl
Spoon, plate, or baking tray
Food coloring (optional)
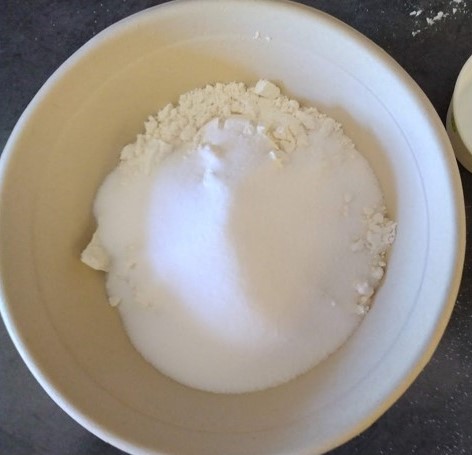
When you have all your supplies gathered, the first step is to measure out the flour and the salt. This is a wonderful opportunity for you and your child to explore basic math concepts like fractions and measuring.
You’ll need:
2 cups of flour
½ cup of salt
Add the salt and the flour to a bowl and mix. You can use a spoon for this, or your child may want to mix by hand.
When the flour and salt are thoroughly mixed, make a little well in the flour and salt mixture and add ¾ cup of water.
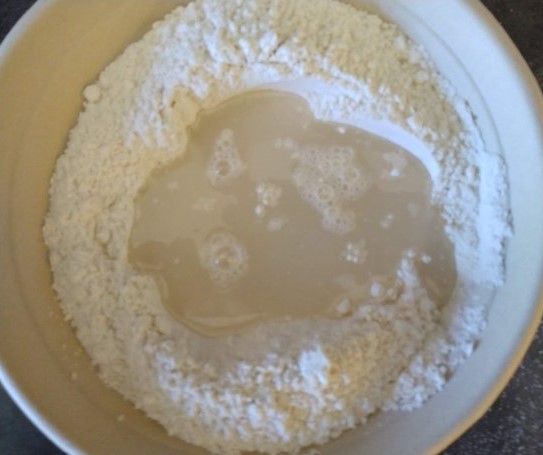
Slowly blend the water and the flour/salt solution together. You can start with a spoon, but working the mixture by hand is way more fun!
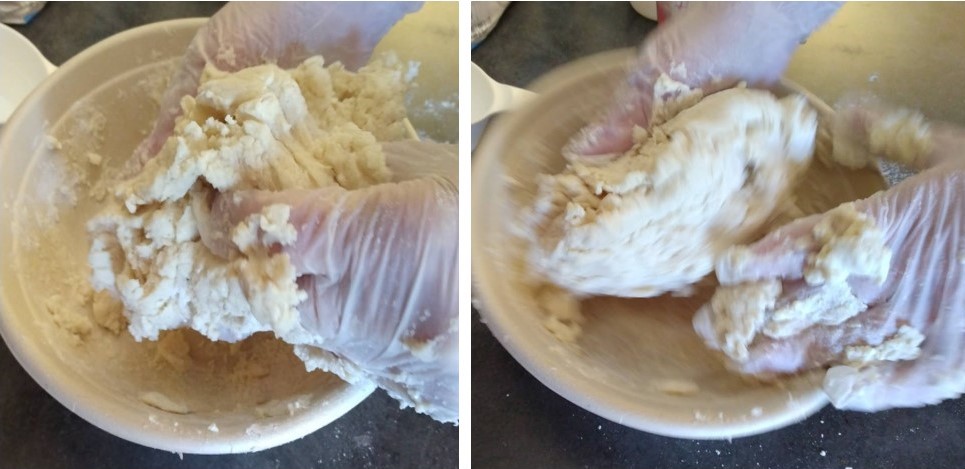
If your dough is too sticky, add a little more flour, one spoonful at a time. It should hold together and not stick to your hands too much. If your dough becomes too hard and difficult to shape, add a little more water to soften it.
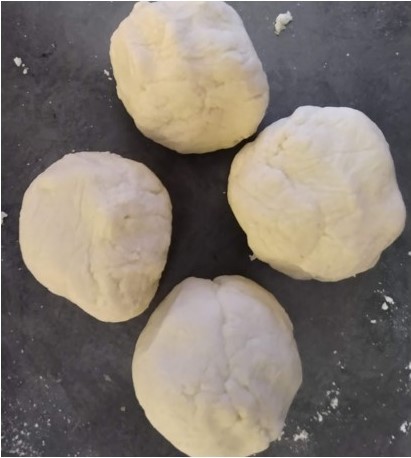
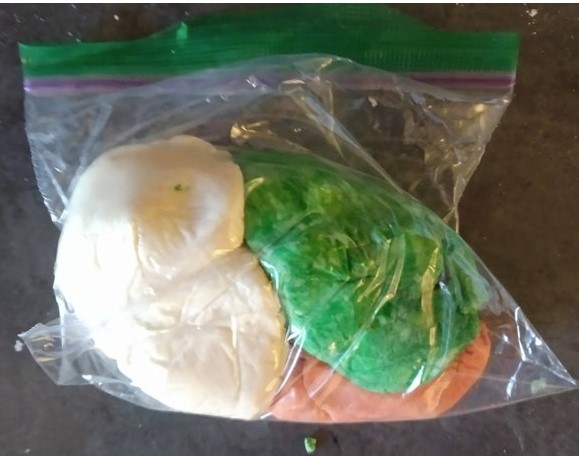
Keep kneading it until it forms a smooth dough. If you’re planning on creating different colored doughs, make a separate ball of dough for each color you would like to have. So, for instance, if you would like to create orange, green, yellow, and purple, you’ll need one ball of dough for each color.
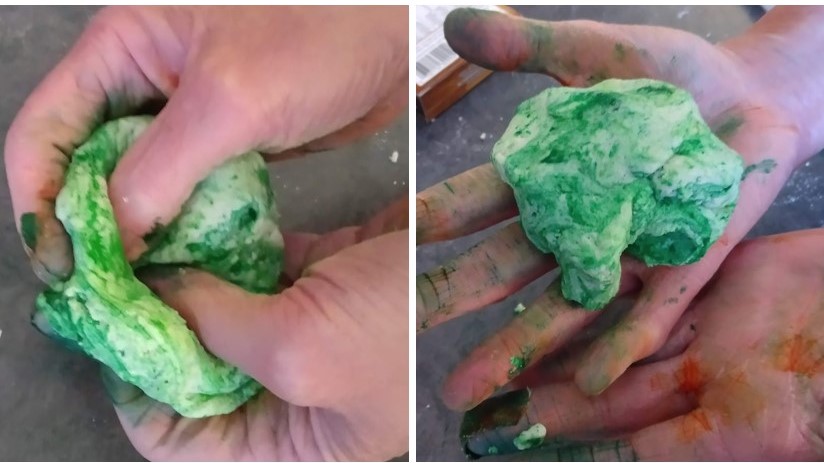
I was able to get a box of food coloring with four colors at the dollar store. If you already have food coloring on hand, three or four drops will be sufficient to create the colors you want. The food coloring box also has a useful chart for combining food dye to create colors beyond the four primaries.
Once you’ve added your food coloring it will take a bit more kneading to thoroughly mix it in. Be forewarned: food coloring will stain your child’s hands, but after a few washings, it will eventually come off.
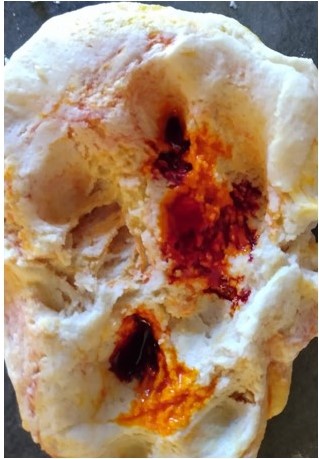
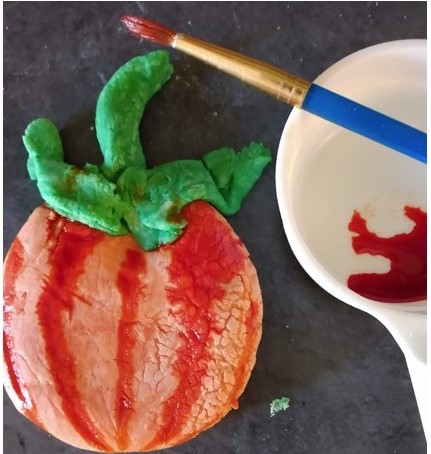
After you’ve mixed your colors into the dough, it’s time to create. Sculpt your salt dough into whatever shapes you want! You could make something Halloween-themed, like a pumpkin or a scary skeleton, or use your creativity and do anything you like. I used a paint brush and a drop of food coloring to add a little extra something to my pumpkin. (Cookie cutters are also a fun option.)
When your salt dough creations are done, it’s time to bake them! Preheat your oven to 250 degrees Fahrenheit. Your creations should bake until they are firm to the touch. Test them for firmness every 30 minutes; it may take a few hours for your salt dough to completely dry out in the oven. This is a great time to read some Halloween books or have a reviving snack after all your hard work.
If you don’t want to bake your sculptures, you can also leave them somewhere warm and air-dry them for 3-4 days.
Save your leftover dough in an airtight container or Ziplock to use another day.
Looking for fun things to do this fall season? There are so many neat activities going on at different Jackson County Branches, check out the JCLS calendar to find some near you!